Lesmes, Incorrupt Sacristan is the second boss in the Blasphemous 2. In Blasphemous 2 bosses are not as tough to defeat as in the first game but still they can give enough pain to the players to make the game challenging. In this guide, we are going to discuss how to defeat Lesmes, Incorrupt Sacristan.

How To Defeat Lesmes, Incorrupt Sacristan
The fight with the Lesmes, Incorrupt Sacristan occurs in three rounds for being the first real boss in the Blashphemous 2. All you need to do is to master the first round as it will come again in the third round, and by learning her moves and reacting to them, players will find enough time to attack her and give her enough damage.
Lesmes, Incorrupt Sacristan – Round One
Lesmes, Incorrupt Sacristan has four attacks which he will do periodically and can give massive damage if these are not avoided. We are going to go through each of these attacks so that you can read her attacks, avoid them and then react to those attacks.
Pillars of Fire
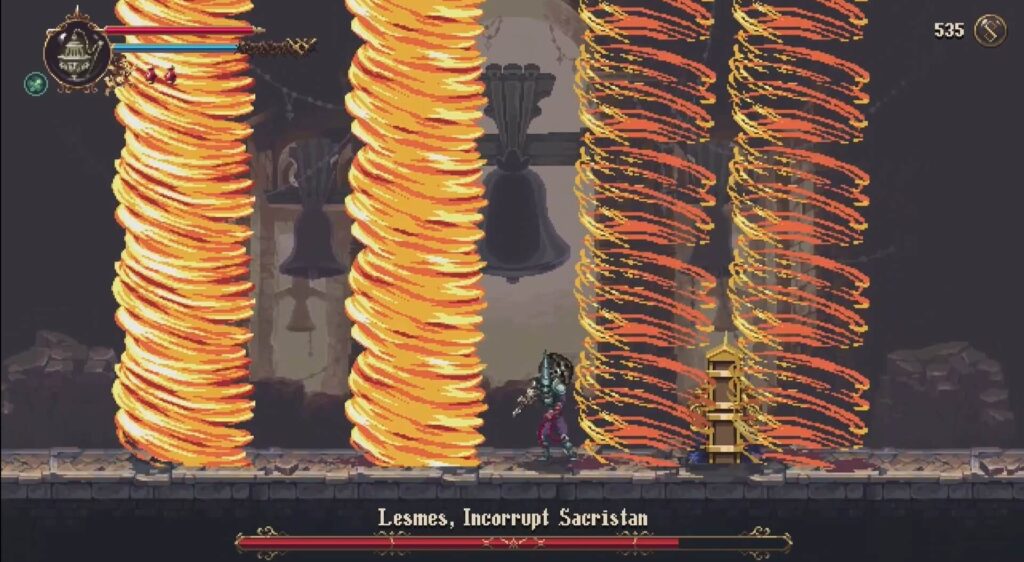
He may open the attack on you by the pillars of fire by moving high in the air. This attack can easily be anticipated as he flies high in the air and slams on you with the Pillars of Fire. Stand by the first Pillar of fire and start hitting her as the attack ends.
Plunging Flames
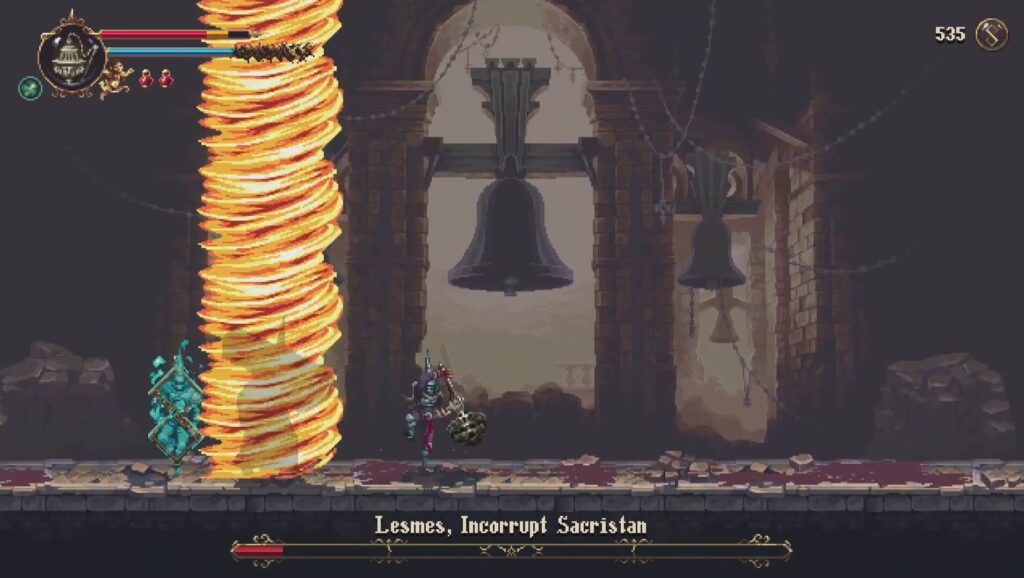
In this attack, Lesmes, Incorrupt Sacristan slam her coffin on the ground to make several brief Pillars of fire. This attack is similar to Pillar of Fire. To avoid this attack, make your way to the opposite side to her and not move too far. You can also make some hits on her during the interval between her landing and then making another Pillar of Fire, but it can be a bit risky. We recommend waiting for her to finish the attack.
Flame Balls
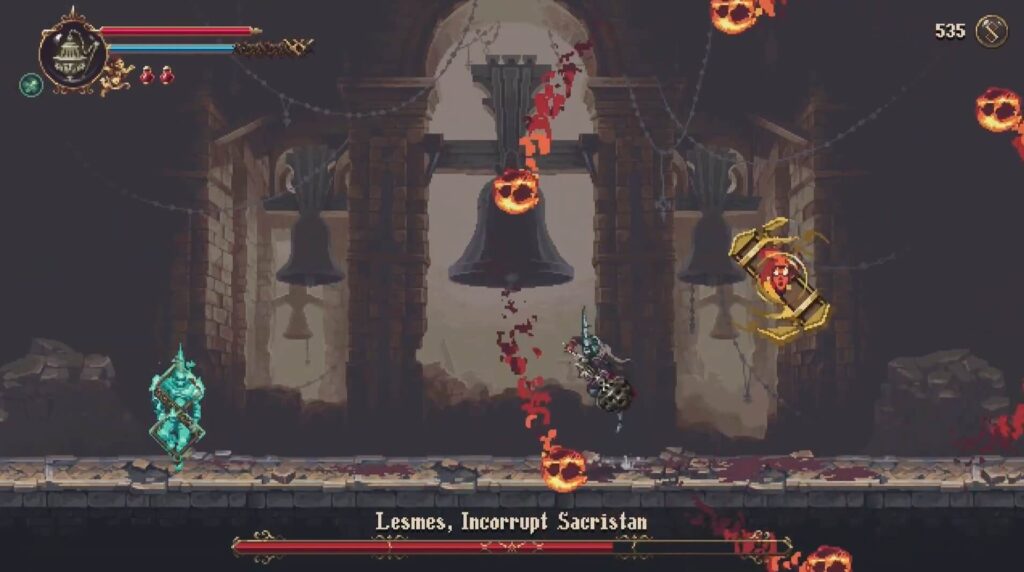
In this attack, Lesmes, Incorrupt Sacristan transform herself into the six flame balls by moving high into the air and start moving to the corners.
This is a pretty easy attack to anticipate. All you need to do is to avoid these flame balls by moving away from Lesmes. She usually stops at the first corner and returns back to its original form. Soon after Flame Balls, she can launch the Pillars of Fire or Plunging Flames attack.
Charging Strike
This charge is very easy to avoid and anticipate. She can do a charging strike attack on you in which she holds his arm with the coffin temporarily, takes some pause and strikes towards you. You can avoid this by jumping over her.
Sleeping Infanta: Round Two
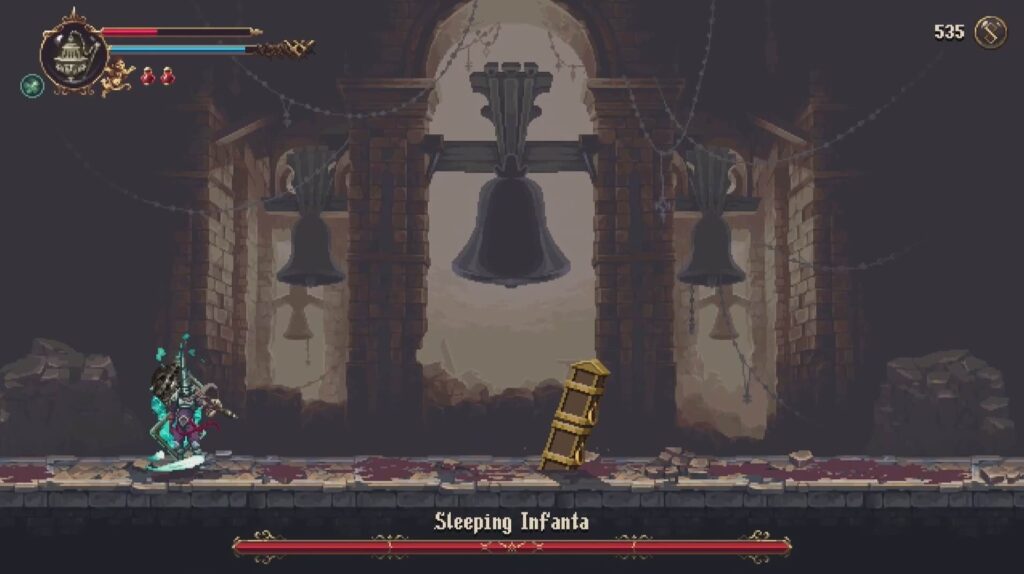
After giving her enough damage, round one of the Lesmes is over and the fight with Sleeping Infanta begins. The coffin weapon, the Lesmes was using against you will be dropped and an infant will emerge from it to fight with you.
As soon as the coffin hits the ground, you can start attacking it without waiting for the Sleeping Infanta to come out and you can give her significant damage. She has only three attacks which are easy to anticipate and react to. All of the attacks of Sleeping Infanta are with Spikes.
Sleeping Infanta’s attacks are simply the variations of moving spikes. Sometimes she surrounds 6 spikes around herself and rush towards you or shot a spike shot by moving above you. These attacks can be avoided pretty easily and give you good amount of time to attack her.
Rushing Spikes
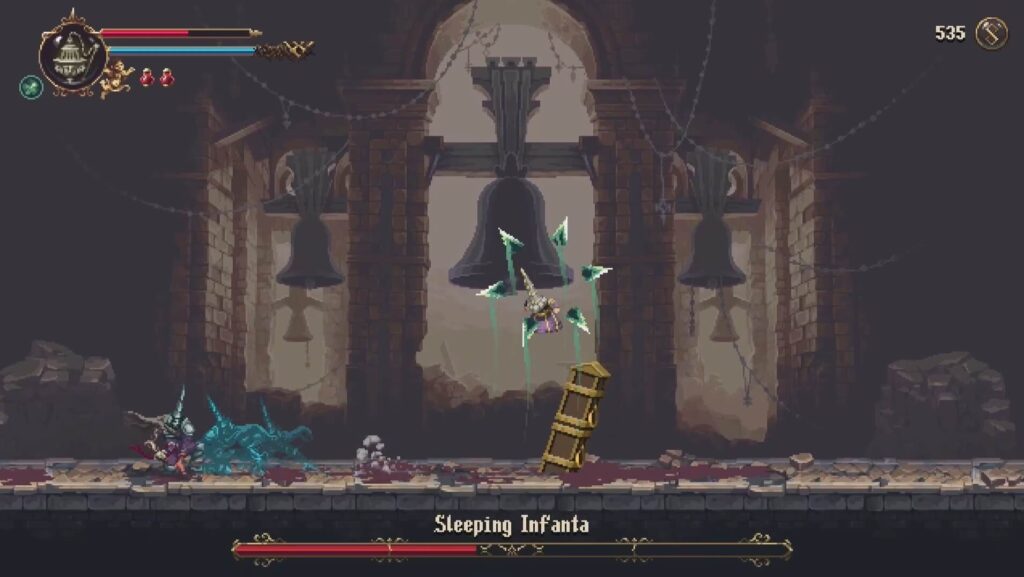
Sleeping Infanta has only three attacks which can be anticipated and avoided easily. Spikes is the major weapon of her. In Rushing Spikes attack, the Sleeping Infanta surrounds herself with a series of spikes and stop on reaching the other corner.
To avoid this attack, you can jump over her before you get into her range. After getting back on the ground, you can attack her and can give her significant damage before she launches her other move.
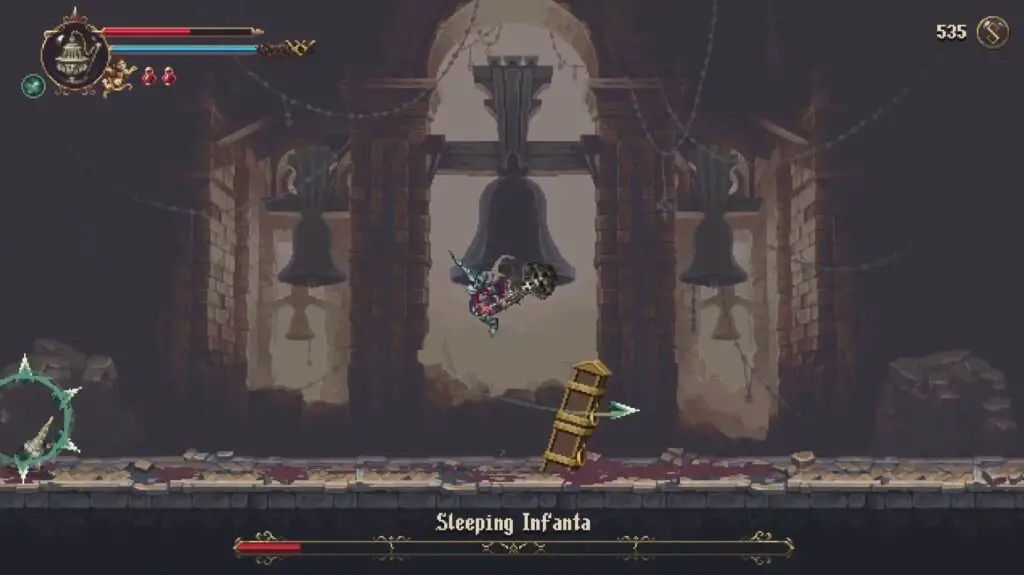
Spike Shot
In this move, Sleeping Infanta move high in the air and shot a single spike on you. This attack is very easy to avoid just by moving away from it before it hit you. This attack brings you closer to the Sleeping Infanta and you can strikes her with several attacks when she lands.
Spikes Rain
This is the last and most deadly attack of Sleeping Infanta but can be anticipated and avoided. In this attack, she moves high in the air and turn purple and rain the spikes on you.
To avoid this attack, first get yourself save from the first spike and rush towards the opposite direction of spikes trajectory or you can guard all of them too. After that attack she can attack on you with any of three attacks again.
Union of Lesmes and Sleeping Infanta – Round 3
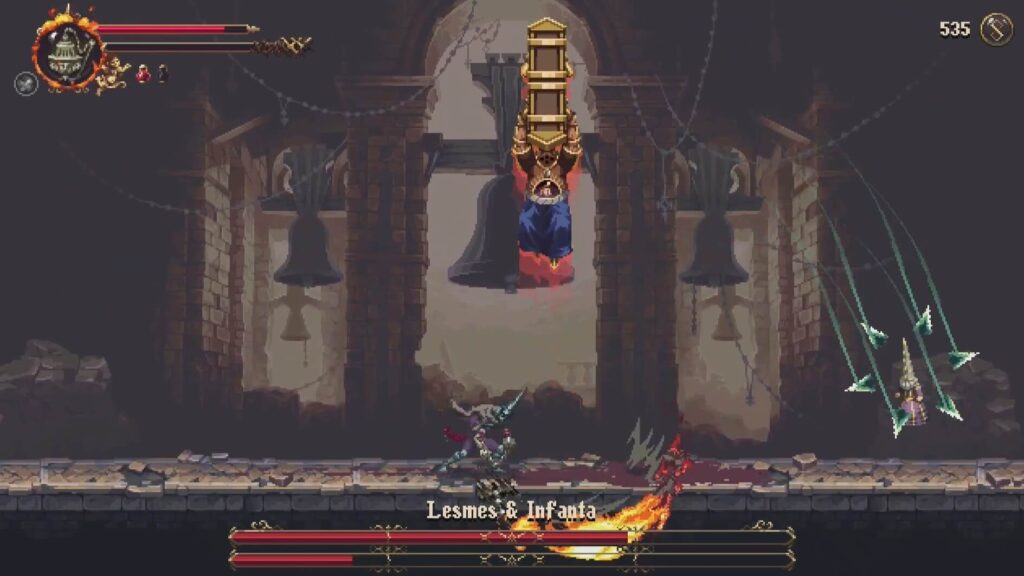
After turning the Sleeping Infanta down, it will get a bit trickier. Lesme will get up. You need to fight with both Lesmes and Sleeping Infanta. Both are having their individual and a combined health bar. Killing one will make the other one to restore the first, so you need to empty the combined health bar in order to over the fight.
Related: Blasphemous 2 – How to defeat Faceless One, Chisel of Oblivion
Lesmes, Incorrupt Sacristan Rewards
After defeating the Lesmes, Incorrupt Sacristan, players will get rewarded 2000 Tears of Atonement and 1 Marks of Martyrdom.
| Reward Name | Reward Points |
| Tears of Atonement | 2000 |
| Marks of Martyrdom | 1 |